Let’s setup an Ubuntu Server. Download the server image from ubuntu website and burn it into a CD or DVD. Install it on your machine. You will be asked about basic configuration options. Choose defaults. Important: Select ‘OpenSSH’ and ‘LAMP’ in the server selection dialog.

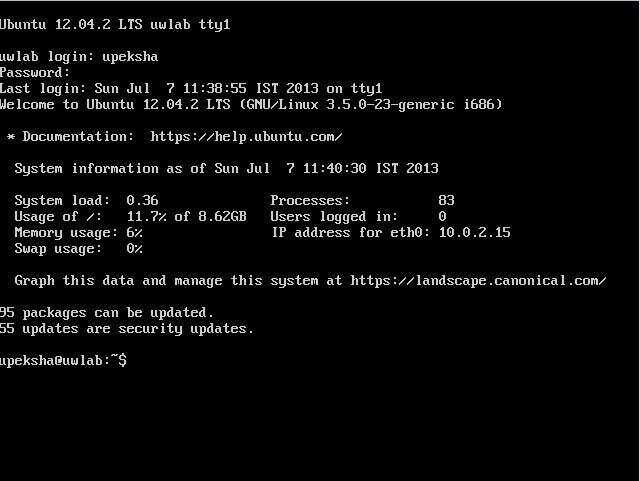
Note the ip address of eth0. Next we plug in anther network card and setup an IP address for the new interface (probably be named as eth1).
Setting up the IP address
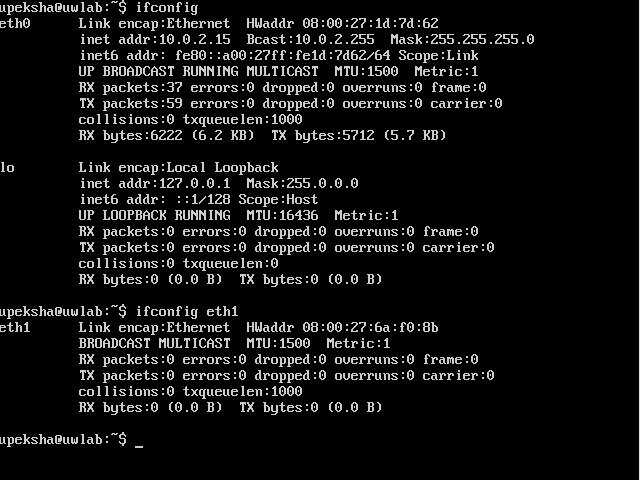
Shutdown the computer and plug in the new network card and boot the computer. Run ifconfig command. The new interface will not show up. You may guess the new ethernet interface. E.g. If you have eth0 listed, the new one wll be eth1. You can run ‘ifconig -a’ and see yourself and verify.
If a single -a argument is given, it displays the status of all interfaces, even those that are down.
Another way is to run ‘ifconfig eth1’ directly, assuming the new interface is eth1.

Now, you are certain that the new network interface is ‘eth1’. Let’s assign a new static IP to this interface. We’ll be SSHing into this server through the new interface soon.
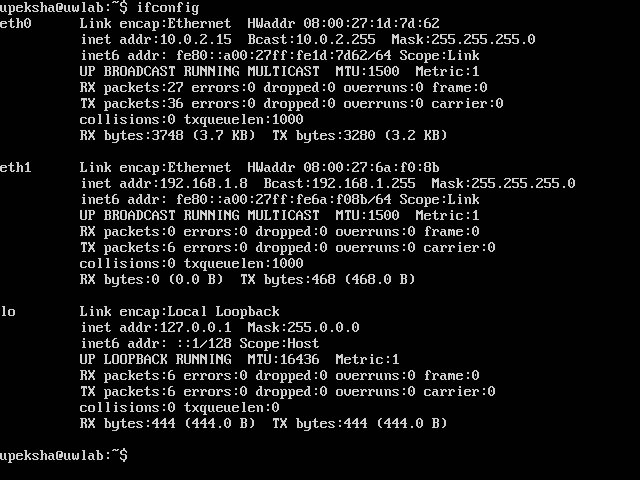
Open ‘/etc/network/interfaces’ and assign 192.168.1.8 for eth1. We are adding our new machine to the ‘UW Network’ (192.168.1.0).
1 2 3 4 5 6 7 | |
Restart the server to apply ip addresses.

Remote Login to the Server and Set up the HostName
Are you getting the ‘apache2: Could not reliably determine the server’s fully qualified domain name, using 127.0.1.1 for ServerName’ message every time you start, stop or restart the server?
1 2 3 4 | |
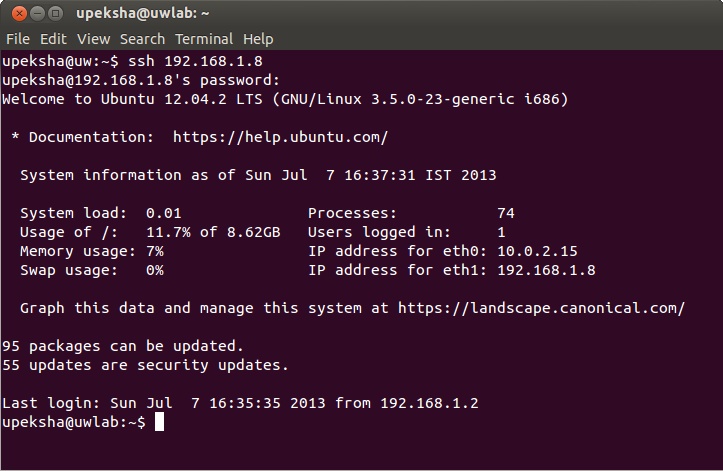
To fix the warning, login to the remote server by SSHing to 192.168.1.8.

To specify a server name for our new server, open ‘/etc/apache2/apache2.conf’ and enter ServerName uwlab at the bottom.
1
| |
Restart the server again using sudo service apache2 restart. Now, there is no warning.
Using a Name instead of IP for SSH
In the previous section we sshed into the remote server using ssh 192.168.1.8. We can also configure our machine to use a name instead an ip address. Open ‘/etc/hosts’ and enter the following.
1
| |
Now you can simply use ssh uwlab to SSH into the new server.
Auto Login to the Remote Server with SSH
Tired of typing the password everytime login to the server? Use ssh-copy-id to copy our identity onto the server. First, generate the key pair.
1 2 3 4 5 6 7 | |
Next copy the public key to the server using ssh-copy-id.
1
| |
Now you can just type ssh uwlab at the command prompt and you are in the server.
Be sure to use a simple PassPhrase. It is important to use a Very Strong Password and relatively weak and easy to type PassPhrase. This reduces the likelyhood of someone succeed in bruteforcing into the server. Of cource you can hide the SSH for even more security.