Each user can be given their own Alternative PHP Cache (APC) with PHP running as a seperate process. First we need to disable Apache2 PHP module which is enabled by default. After doing this you no longer can set PHP settings in .htaccess files. Apache2 will have no knowledge about PHP, it only passes the execution to a seperate PHP process via FastCGI module.
Setting up a local Ubuntu Server is recommended to read before this post to learn how to setup a local Ubuntu Server.
Disable Apache2 PHP5 Module and Install PHP CGIs
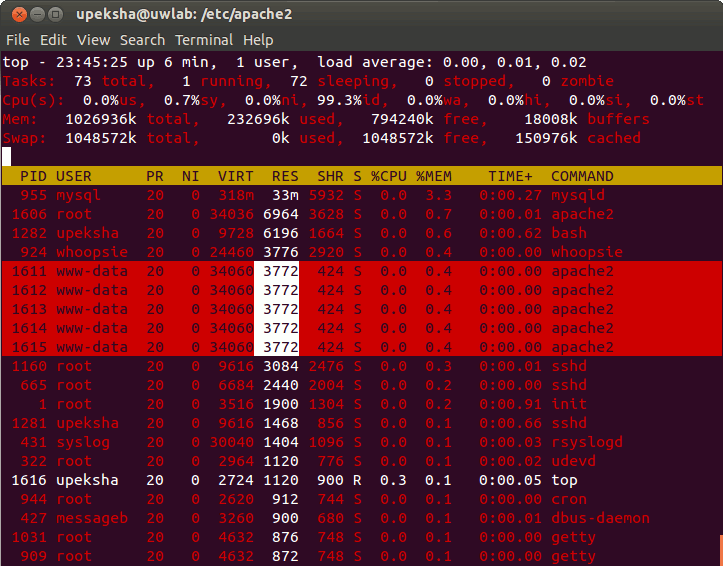
Note the highlighted Resident and Shared memory consumption by Apache2 parent process and its children.
Disable mod_php with sudo a2dismod php5. Restart web server with sudo service apache2 restart. Now, if you check your ‘/etc/apache2/mods-enabled’ directory, you will notice that php.conf and php5.load files have been deleted.
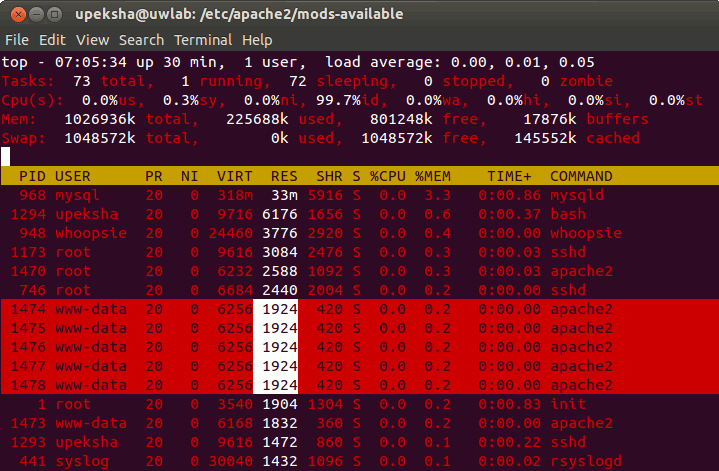
Again, note the reduction of the memory consumption by Apache.
Next, you need to install php5-cgi. Run sudo apt-get install php5-cgi. After installation you will have two new executables (php-cgi and php5-cgi) in /usr/bin/ directory.
Install and Enable Apache2 FastCGI Module
Run sudo apt-cache search apache2 cgi and find the relevant module. Install using sudo apt-get install libapache2-mod-fastcgi. Restart the server once again. If you check /etc/apache2/mods-enabled directory, you will see FastCGI is enabled automatically after installation.
Add the FastCGI configuration to the apache2.conf file in /etc/apache2 directory.
1 2 3 4 5 6 7 8 9 10 11 12 13 14 15 16 17 | |
You might need to enable Action command via sudo a2enmod actions to parse the above configuration.
Install and Enable Apache2 suEXEC
sudo apt-get install apache2-suexec
Enable ‘suEXEC’ with sudo a2enmod suexec.
Create PHP FastCGI wrapper scripts in /var/www/bin/ directory. Create a new directory for ‘wisidagama’. Create the ‘php-fastcgi’ wrapper script.
1 2 3 4 5 6 7 8 9 | |
Be sure to read and understand the suEXEC Security Model too.
Install and Enable PHP APC
sudo apt-get install php-apc
You should get an apc.ini file in /etc/php5/cgi/conf.d directory. Enter apc.enabled="1" to enable APC for CGI PHP.
Add a User and Create a simple website
Add a new user called ‘wisidagama’. sudo useradd wisidagama.
1 2 3 4 5 6 7 8 9 10 11 12 13 14 | |
Let’s create a simple two-page website for wisidagama.
1 2 3 4 5 6 7 8 9 10 11 12 13 14 15 16 17 18 19 20 21 22 23 | |
Next we need serve these files as www.wisidagama.dev. Setup a Virtual Host for wisidagama.dev.
Copy the ‘default’ file to ‘wisidagama.dev’ in ‘/etc/apache2/sites-available’ directory. Edit the file as follows.
1 2 3 4 5 6 7 8 9 10 11 12 13 14 15 16 17 18 19 20 21 22 23 24 25 | |
Enable wisidagama.dev using sudo a2ensite wisidagama.dev.
From the client machine we need to tell www.wisidagama.dev to resolve to 192.168.1.8 since we don’t have a DNS server to resolve this. Add the following line to your /etc/hosts file.
192.168.1.8 www.wisidagama.dev
Disabling FastCGI or suEXEC
If you disable FastCGI module using sudo a2dismod fastcgi, then no one will handle .php files (Remember: AddHandler php5-fcgi .php). They will be downloaded to client machines.
If you disable suExec module using sudo a2dismod suexec, Apache will fail.
1 2 3 4 5 6 | |
Configuring APC size Per User
You can fine tune per user APC size in ‘/var/www/bin/USER/php-fastcgi scripts. Use the -d apc.shm_size=100M argument to adjust per user APC size. See below, phpinfo() output shows the custom APC size for ‘wisidagama’.
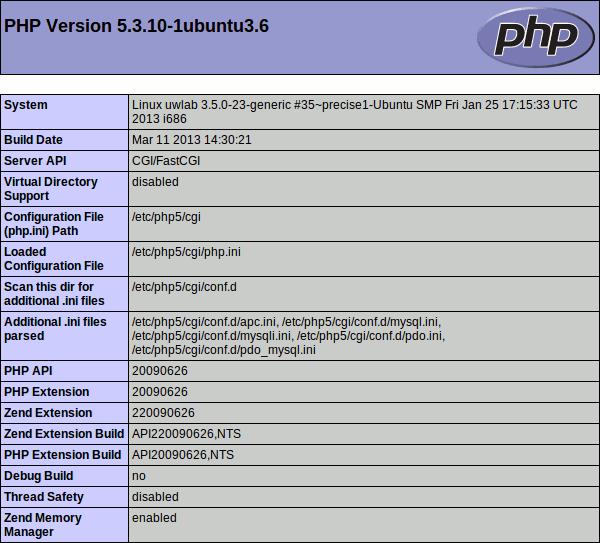
APC configuration:
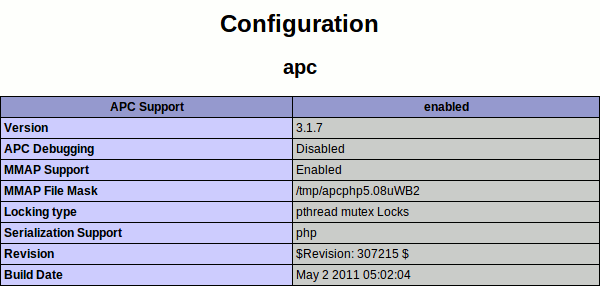
APC size per user:

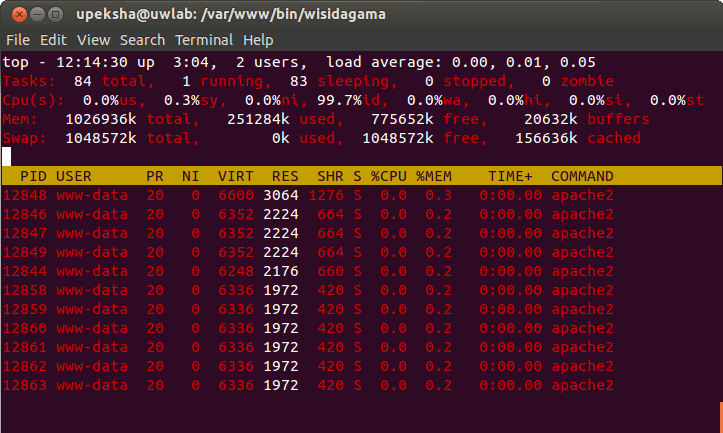
Resource Consumption of PHP CGI running via FastCGI and usEXEC with per user APC
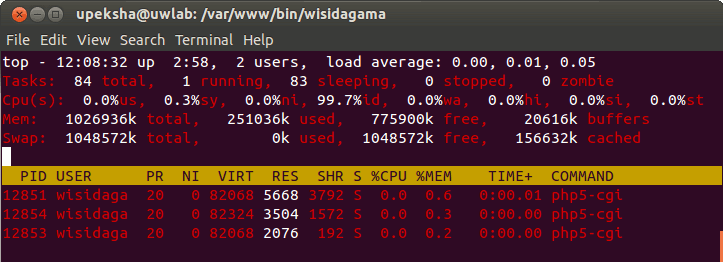
Now you can fine tune the various parameters to match your server needs and wants. Note: Apache2 still uses Prefork MPM.
